Trusted & Reliable Laser Spares Solutions
Shashwat Laser services
Other Spares
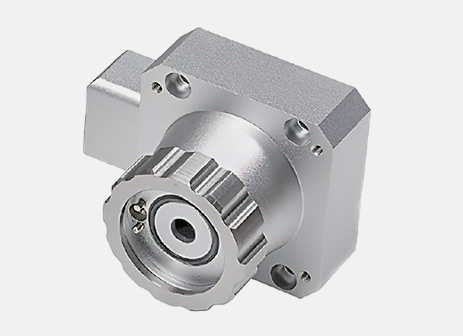
Sensor Head
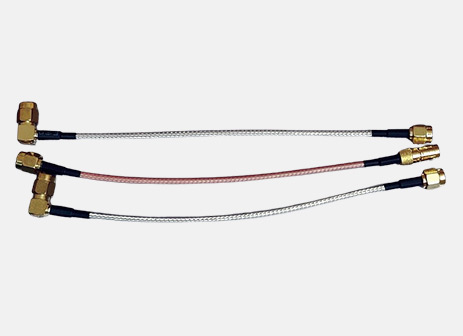
Sensor Cable
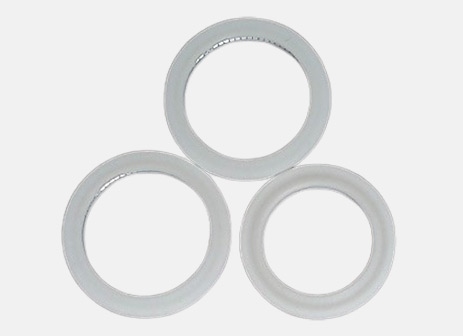
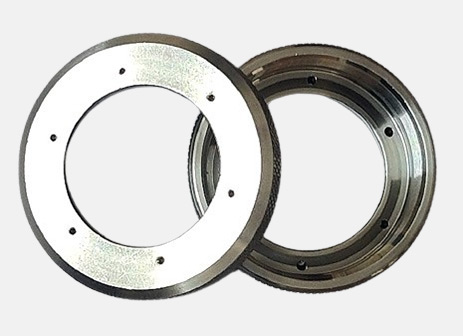
Seal Ring
Locking Nut
Protection Lens
The protective window of a laser cutting machine is a lens located in front of the laser output window, commonly used to protect the collimation and focus lens from pollution and damage caused by gases, foreign objects, etc. It can effectively protect the output fiber optical path of the laser cutting machine and extend the service life of the laser.


Signal stability & high sensitivity
Ceramic ring
Ceramics are made of imported ceramics and special alloys, which ensures the consistency of thermal expansion between ceramics and various materials, and prevents bursting.
Laser Nozzle
The cutting nozzle is consumable in laser cutting machines, playing an important role in the cutting process. The conical nozzle is widely preferred for its excellent cutting quality and high accuracy. It is primarily used in nitrogen cutting of stainless steel, especially for fine cutting where surface quality is crucial. The nozzle operates by guiding auxiliary gas through its inner core, where it undergoes secondary expansion to increase velocity before reaching the cutting surface through the nozzle’s end hole. This design reduces shock waves, enhances gas velocity, and improves cutting efficiency by removing slag and heat effectively.


Suitable for most brands Raytools/Precitec/WSX/Han’s
Focusing and Collimating Lens
Fiber laser cutting is normally used for cutting metal materials with medium and high power. The laser beam follows a specific path: it passes through a collimating lens to become parallel light, and then through a focusing lens which concentrates the beam onto the workpiece. Protective lenses are positioned behind the focusing lens to protect from splash damage.
Head

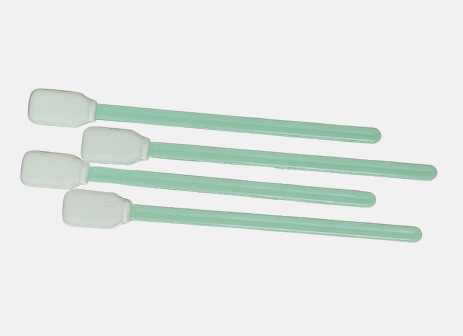
Lens Cleaning Tips

Step 1
Place a few drops of the optical cleaning fluid onto the swab

Step 2
Move the larger dirt particles and then finer contaminants to the edge of the lens using the swab. Do not rest the swab on the lens or on the work table. Do not reuse swabs.

Step 3
Inspect the surface of the lens for dust and cleaning residue using a ashlight. Examine the lens from different angles. Repeat the process on the other side of the lens.
Final Step
Place the cleaned lens in the machine quickly to a avoid contaminatlon from airborne particles, if spots , pits or scratches are still noticeable, the lens may need to be replaced.